Email Notifications
Download ManualSite Managers can customize automated email notifications with multiple language support. These emails can be set up to automatically alert individuals regarding certain interactions such as when a new account is created, a course is completed, or a certification is about to expire. These notifications inform individuals without requiring them to log in to the system. Emails can be managed on two different levels: system emails and campus emails.
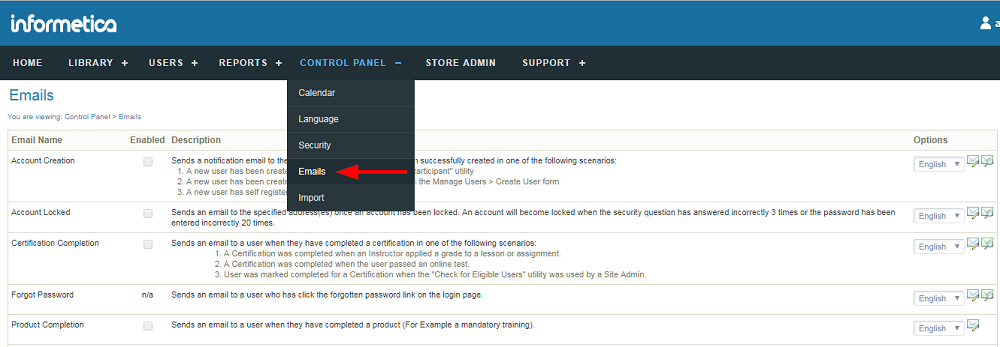
Navigate to Email Notifications
- Log in with a Site Manager account.
- Select Emails from the Control Panel.
Enable or Disable Emails
Enable Emails
To enable campus level emails, see Add Campus Emails.
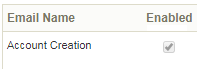
- Messages must be enabled for your system before you can use them. Navigate to Email Notifications. Any notifications that have a check in the Enabled column are available for you to use.
- To enable any notifications that are not available on your system, create a ticket using the Service Request System (SRS) detailing the emails you want added.
Disable Emails
To disable campus level emails, see Reset or Remove Campus Emails.
- To disable an email, removing the entries in any of the following mandatory fields: To, From, Subject or Message Body. Disabling a default email this way will not affect an email that is enabled at the campus level.
- To completely remove an email for your entire system, create a ticket using the Service Request System (SRS) detailing the emails you want removed.
Notification Text
Site Managers may update the content in email notifications.
- Navigate to Email Notifications or Campus Emails, as appliable.
- Select Edit Email next to a selected email notification.
- Select the language for this email, if applicable.
 When a new language is added to the system, the system will require all email notifications for the new language to be either disabled or configured. When a language is disabled, email notifications related to this language will also be disabled. The Site Manager must confirm that they wish to disable all notifications before this action will occur.
 - Enter the email content. The following email fields are required: To, From, Subject, and Message Body. If any of these fields are empty, the email will not be sent.
- *To: This field is set to Automatic so that it will be sent to all Participants.
- CC/BCC: If necessary, you can add email addresses to the CC and BCC fields. Multiple email address must be separated by a comma.
- *From: Enter the email address that recipients will receive this email from.
- *Subject: Enter the subject line for the email message.
- *Message Body: Enter text for the message, using email pre-set text as applicable (see below).
- Save.
- Optionally select Preview Email next to any email notification to view what the email subject and body will look like.

- Optionally add a signature. For campus emails, View Emails for One Campus.
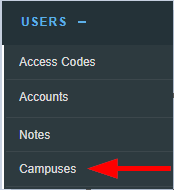
- Select Campuses under the Users tab in main navigation bar.
- Select Edit Emails for a specific campus.
- Select Edit Signature from the email tools menu to open the Edit Email Signature page. The signature will apply to all enabled and activated emails for the campus.
- Save.
![]() Brackets are Mandatory
Brackets are Mandatory
When using pre-set text, include the brackets [[ ]] around the text. You can copy/paste the string to ensure the correct format.
Use optional preset text when creating email content. These dynamic text strings automatically replace values specific to each email recipient. For example, entering [[ First Name ]] into the body of the email will automatically insert the user’s first name. The Site Manager may choose to use the same or different pre-set text for the system and each campus. The image below shows an example of preset text options when creating email.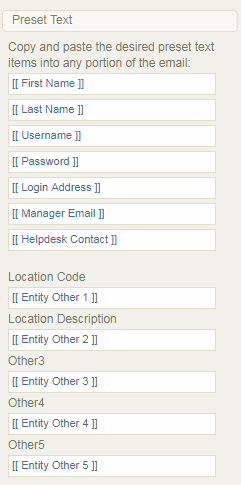
Pre-set text using location information is pulled in from user profile fields. The image below shows the relevant area from a user’s profile.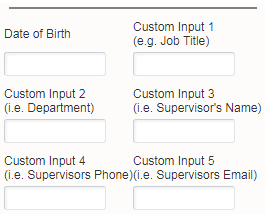
Site Manager may use the provided example text to write email notifications. Feel free to copy and paste them into your own emails and tweak as needed.
Account Creation
Subject: Welcome to the Company Learning Management System
Thank you,
Company name
Contact information
Course administrator name
To access your e-Learning course, please click this link system login page and enter the username and password provided below. We recommend that you change your password once you are in the system.
Username: [[ Username ]]
Password: [[ Password ]]
Should you have any questions, please contact company email or call company phone.
Account Locked
Subject: Your account is locked for security reasons
We apologise for the inconvenience. For your security, user accounts are locked automatically if the password has been entered unsuccessfully too many times. Your account will unlock automatically and be available in 1 hour.
Certification Complete
Subject: You have earned a certification
Congratulations, [[ First Name ]] [[ Last Name ]], you have completed the following certification:
[[ Certification Name ]] on [[ Certification Obtained Date ]]
Don't forget to print your certificate of completion for your training records. To do so, log back into the course and click on the Certifications tab.
Should you have any questions, please contact company contact information.
Certification Expiry Reminder
Subject: Certification Renewal Necessary
Greetings from the company name team.
We are providing you with notice that the following certification(s) will soon expire:
[[ Certificate List ]]
Ensure that you renew your certificate prior to the expiry date to avoid any compliance issues.
If you require any assistance, please contact your supervisor.
Forgot Password
Subject: Training Centre Login Information
Hello [[ First Name ]] [[ Last Name ]],
Here is your login information for the company name Training Centre.
Your Password is: [[ Password ]]
Please contact [[ Helpdesk Contact ]] or call phone if you have any questions.
Product Complete
Subject: Course Completed
Congratulations on successfully completing [[ Course Name ]]!
Please contact company email or call company phone if you have any questions.
Product enrolment
Subject: You have been enroled in a course
You have been enroled in the following course: [[ Course Name ]]. To begin your training:
• Go to system login page and log in with your username and password.
• Click on the course title in the left side-bar menu to access the online training you registered for or are required to participate in, and begin.
We hope you enjoy the course!
Product Exception
Subject: Course Date Extended
[[ First Name ]], your [[ Course Name ]] online course has been extended until [[ Exception End Date ]].
To access your online training, log in to system login page with your username and password.
Please feel free to contact us with any questions or concerns at company email or company phone.
Thank you and we hope you enjoy the course!
Product Expiry Reminder
Subject: Course Expiry Reminder
Greetings from the company name team.
This is a friendly reminder to complete the following course(s) prior to the expiry date.
[[ Course List ]]
If you require assistance, you can email us at [[ Helpdesk Contact ]] or call phone.
Training Expiry Reminder
Subject: Training Expiry Reminder
Greetings from the company name team.
We are providing you with notice that the following training item(s) will soon expire:
[[ Training List ]]
Ensure that you renew your training prior to the expiry date to avoid any compliance issues.
If you require any assistance, please contact your supervisor.
Email Signature
Thank you,
Company name
Contact information
Course administrator name
This e-mail (including any attachments) is intended for the addressee(s) stated above only and may contain confidential information protected by law. You are hereby notified that any unauthorised reading, disclosure, copying or distribution of this e-mail or use of information contained herein is strictly prohibited and may violate rights to proprietary information. If you are not an intended recipient, please return this e-mail to the sender and delete it immediately hereafter. Thank you.
Campus Emails
Site Managers can add, remove, and edit email notifications for a specific campus. Email notifications set up for a campus will over ride any default email notifcations sent from the learning management system. For more information on setting up emails, see the chapter on Email Notifications.
- Log in with a Site Manager account.
- Select Campuses under Users in the main navigation menu.
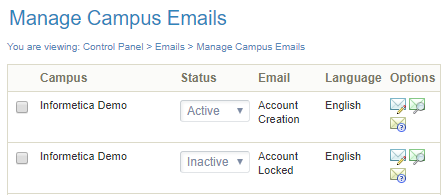
- Select Edit Emails next to the desired campus to view the Manage Campus Emails page. You may see Add Emails instead. This means that the campus is using only the site's default email notifications.
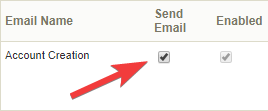
- Emails that are set up for the campus will have both the Enabled (enabled for the site) and the Send Email (enabled for the campus) options checked.
- Navigate to Emails.
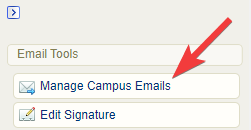
- Select Manage Campus Emails from the Email Tools menu. If you can't see the menu, show the Tool Panel.
- Optionally Sort alphabetically by campus name or by email name (ascending or descending). If you can't see the menu, show the Tool Panel.
- Optionally Filter and select Go. If you can't see the menu, show the Tool Panel. The filter optons are:
- Reset: remove any current filters.
- Campus: Enter a word in the campus name.
- Status: Use the drop-down menu to show only active or inactive emails.
- Language: Use the drop-down menu to show only emails using a specific language.
- Type: Use the drop-down menu to show only the emails with a specific name.
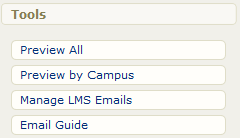
- Optionally preview email message content. Select Preview All or Preview by Campus from the Tools menu. If you can't see the menu, show the Tool Panel.
![]() Campus level emails are sent based on the user's default campus.
Campus level emails are sent based on the user's default campus.
Add Campus Emails
Campus level emails are sent based on the user's default campus.
- Navigate to campus emails.
- Select Add Emails to open the Manage Campus Emails page.

- Select Enable Email for one or more email notifications.
- Write the email Message Content.
- Save.
![]() Active campus emails must have both the Enabled (enabled for the site) and the Send Email (enabled for the campus) options checked. See Enable or Disable Emails to learn more.
Active campus emails must have both the Enabled (enabled for the site) and the Send Email (enabled for the campus) options checked. See Enable or Disable Emails to learn more.
Reset or Remove Campus Emails
Site Managers can remove the custom emails notifications for a campus and reset them to the system default emails. Pick the scenario below that applies to your situation.
Site Managers can choose to deactivate one or more emails for campuses.
- View Emails for Multiple Campuses.
- Set the status to Inactive using the drop-down menu for the applicable emails.
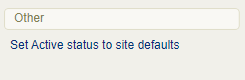
Site Managers can to match selected campus emails to match the same email types set up for the system default emails. For example, if the system only uses two default emails: Account Creation and Product enrolment, when you set active status to site defaults, that specific campus's emails will send only Account Creation and Product enrolment notifications. You can still customize the email content for the campus.
- View Emails for One Campus.
- Select Set Active Defaults Status to Site Defaults from the Other menu. If you can't see the menu, show the Tool Panel.
Resetting all emails for a campus will remove all the unique campus emails and replace them with the default system emails.
- View Emails for One Campus.
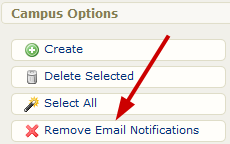
- Select campuses.
- Select Remove Email Notifications from the Campus Options menu. If you can't see the menu, show the Tool Panel.
Resetting an email will remove the unique campus email and replace it with the default system email. Only emails set to active need to be reset.
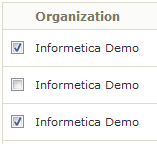
- View Emails for Multiple Campuses.
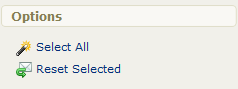
- Select the applicable emails. You can select the emails using the check boxes in front of the emails or by using Select All under the Options menu. If you can't see the menu, show the Tool Panel.
- Select Reset Selected from the Options menu. If you can't see the menu, show the Tool Panel.
Product-Specific Emails
Site managers may add product-specific content to product emails based on a specific course and language. This feature is useful to convey information that is not needed by everyone taking a course but is important for individuals belonging to a specific campus.
![]() You must have campus emails enabled to sent product-specific emails. The following email notifications support product-specific emails:
You must have campus emails enabled to sent product-specific emails. The following email notifications support product-specific emails:
• Product Completion
• Product enrolment
• Product Exception
• Product Expiry Reminder
- View Emails for One Campus.
- Select Edit Emails for the Campus of your choice to open the Manage Campus Emails page.
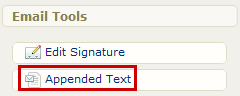
- Select Appended Text link under Email Tools on the right. If you can't see the menu, show the Tool Panel.
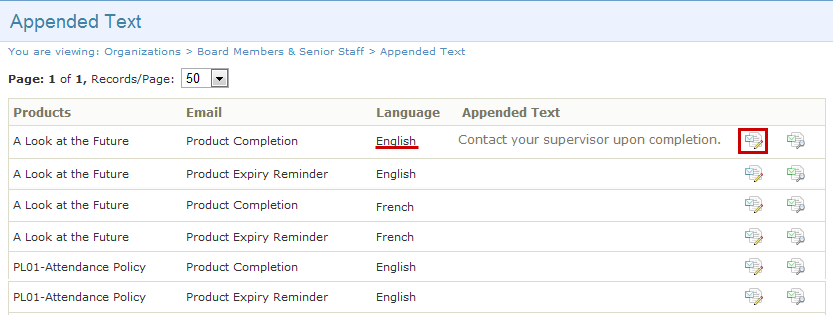
- Select the Edit Appended Text button next to the appropriate product, email notification, and language that you want to add the text to. Each Product is listed once per email and language.
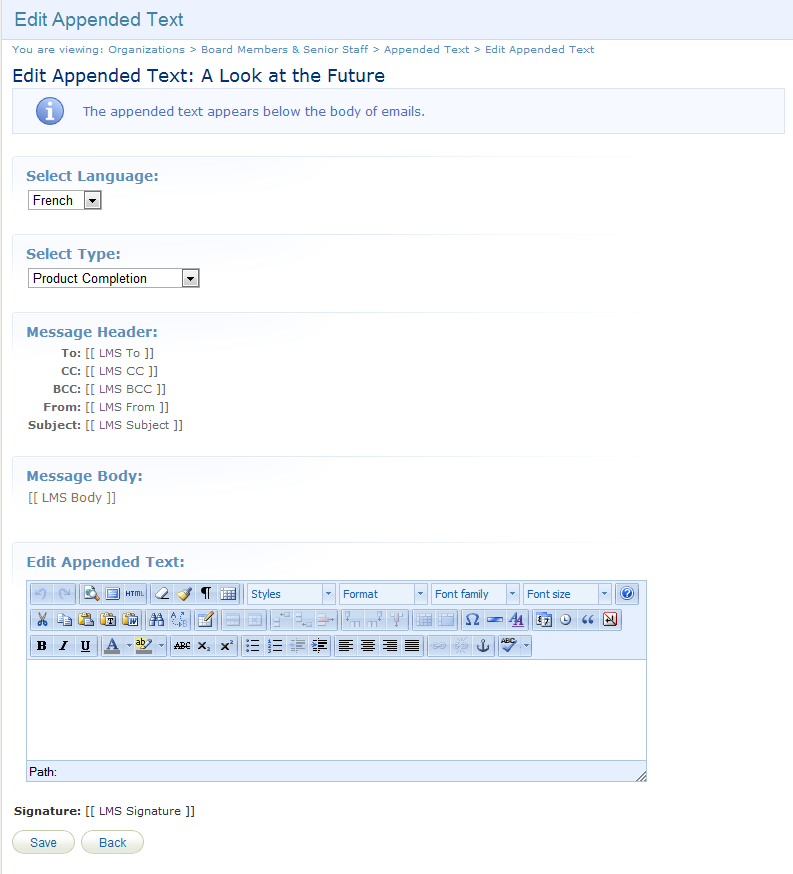
- Use the content editor to design the message text.
- Save. The appended text will show up after the email body content, but before the signature, if you have one set up. After you save it, the appended text will appear on the Appended Text page. If you have no other body text entered, the email will still be sent as long as the To, From, and Subject fields are filled out.
-
Optionally select Preview Appended Text to review the Product email notification and the appended text.