Campuses/Organizations
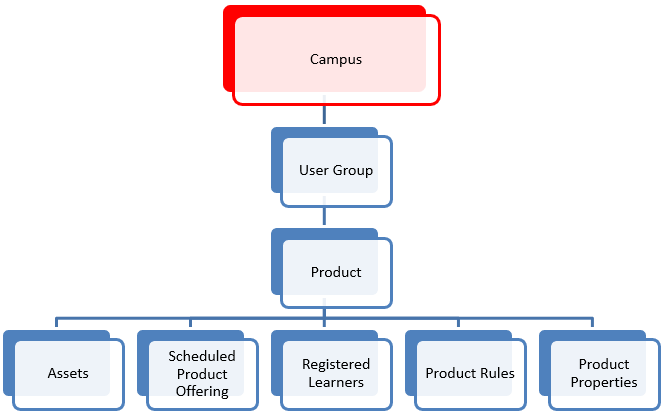
Download ManualThe cornerstone of Informetica's hierarchy is the campus (also known as an organization). A campus is a common space in which products (e.g. courses), learning activities, and learners coexist. Each campus can meet differing needs of user audiences entering the learning management system, such as a unique course library. Campuses are also essential for segregating report functions. Site Managers may opt to delegate the management of content, users, and reports to a campus manager giving the campus some or full independence.
Examples of campus environments:
- Regions or Locations
- Companies or Associations
- Departments or Divisions
- Work Areas
Navigate to Campus Page
- Log in with a Site Manager account.
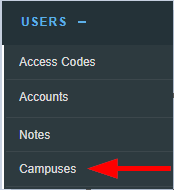
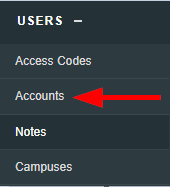
- Select Campuses from the Users tab.
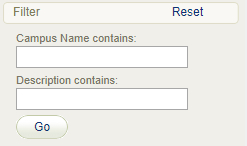
- Optionally use the Filter menu to help you find a campus by typing a simple search term contained in the campus name or description and then select Go at the bottom of the filter. If you can't see the menu, show the Tool Panel.
- Use the Sort Options menu on the right hand side to sort the campus list. Campuses are sorted alphabetically by default. The following sort options are available in ascending or descending order:
- Alphabetically by name
- Alphabetically by description
- Chonologically by create date
- Chronologically by modified date
- Choose the reset link at the top of the filter options menu to remove any filters.
Create a Campus
- Log in with a Site Manager account.
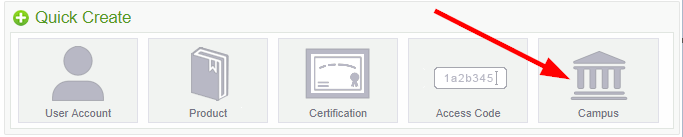
- Select Campus from the home page under the Quick Create menu.
- Complete the form.
- Enter the name for the campus.
- Select available dictionaries from the drop-down menus as the default languages for this campus.
- Enter an optional description. The description is not publicly displayed.
- Save to create the new campus or Cancel to navigate to the campuses page without saving the changes.
- Assign user groups (see Add or Remove Campus User Groups).
- Set up optional email notifications (see Add Campus Emails).
View Campus Users
- Log in with a Site Manager account.
- Select Accounts from the Users tab.
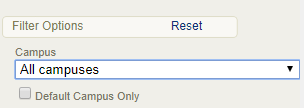
- Use the filters to select a campus. If you cannot see the menu, show the Tool Panel.
Alternate Method
- Select Campuses from the Users tab.
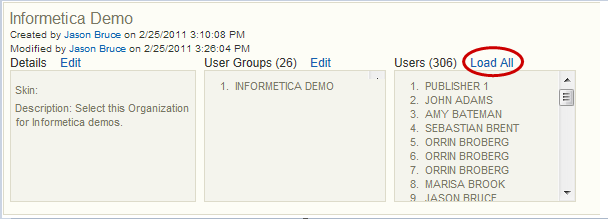
- Make sure you are in detailed view. When in detailed view, you can see a list of users belonging to the campus. The system shows only 100 users, ensuring that the page will load quickly. This is particularly helpful for clients that have hundreds of thousands of users. Select Load All to view more than 100 users.
Add or Remove Campus User Groups
- Log in with a Site Manager account.
- Select Campuses from the Users tab.

- Select the Edit link or User Groups icon.
Edit user groups link from detailed view.
Edit user groups icon from list view.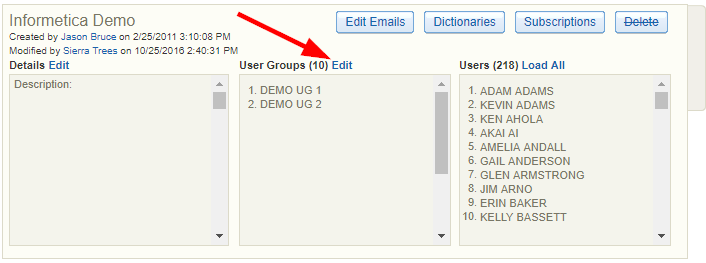

- Save to complete the changes or Cancel to navigate to the campuses page without saving.
Change Campus Name or Description
- Log in with a Site Manager account.
- Select Campuses from the Users tab in the main navigation menu.
- Select the Details Edit link or the select the name of the campus.
Edit name or description from detailed view.
Edit name or description from list view.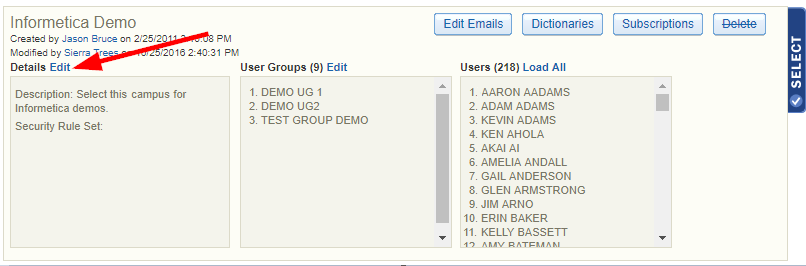

- Save to complete athe changes or Cancel to navigate to the campuses page without saving.
Delete a Campus
![]() A deleted campus is permanently removed from the system. Deleting a campus removes associated campus emails as well.
A deleted campus is permanently removed from the system. Deleting a campus removes associated campus emails as well.
The system prompts you if you cannot delete a campus and lists the associated elements preventing the deletion. You must first reassign any associated elements such as users and user groups. This prevents creating disassociated elements in the system, which can have serious affects on users.
- Log in with a Site Manager account.
- Select Campuses from the Users tab.
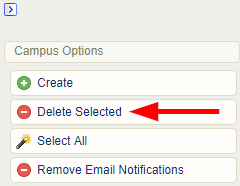
- Select one or more campuses by clicking within the selection box(s).
- Choose Delete Selected from the Campus Option menu. If you cannot see the menu, show the Tool Panel.