Tools for Nonscheduled Courses
Download Manual![]() This feature is available to Campus Admins, Instructors, Publishers, and User Group Managers depending on system configuration. These features require your system to have the Instructor Utilities menu enabled.
This feature is available to Campus Admins, Instructors, Publishers, and User Group Managers depending on system configuration. These features require your system to have the Instructor Utilities menu enabled.
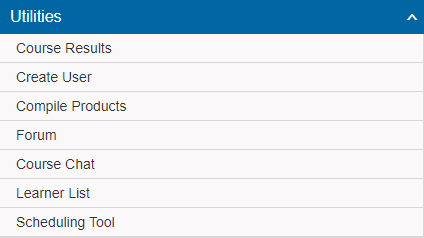
The Instructor Utilities menu contains instrucutor led tools used for content where the Scheduling Tool is not required to create course sessions.
Navigate to the Utilities Menu
- Log in with an account type mentioned above.
- Select the name of a product from the product menu on the left side of your home page.
- Scroll down to the Utilities menu.
Enrollment and Classroom Tools
The participant list is used to manage existing course enrolments and pending enrolments and offer some simple classroom tools. Select an item below that applies.
Navigate to Participant List
- Navigate to the Utilities menu.
- Select the name of a product from the product menu on the left side of your home page.
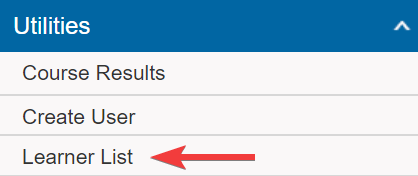
- Scroll down to the Utilities menu and then select Participant List.
Products configured to restrict enrolment will place all users attempting to enrol onto the product a pending status. In this case, you must approve each enrolment and may also drop a user’s enrolment at any time. A user may also drop their own enrolment request prior to being approved.
- Navigate to Utilities Participant List (see above).
- The list of enroled users will show a status of pending to indicate that enrolment has not yet been approved.
- Select the check box in front of the names you wish to approve or decline.
- Select Approve or Decline at the top of the list.
![]() If you are using the scheduling tool, you may want to Email Session Participants instead.
If you are using the scheduling tool, you may want to Email Session Participants instead.
- Navigate to Utilities Participant List (see above).
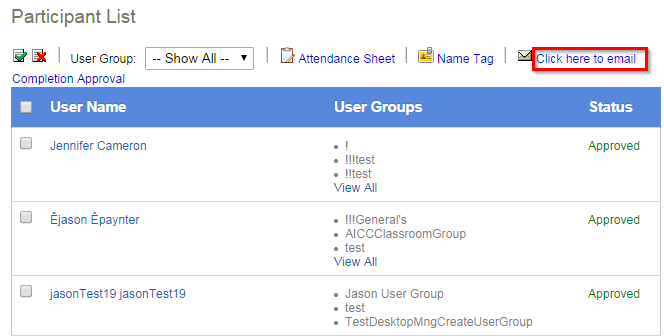
- Select the check box in front of each name you want to email.
- Select the Email icon at the top of the page to generate the email list.
- Select Click here to email.
![]() This feature is available to Instructors, depending on system configuration. Products must be configured with a completion rule to be marked as complete.
This feature is available to Instructors, depending on system configuration. Products must be configured with a completion rule to be marked as complete.
This tool lets you grant completion to users who do not yet have a finish date such as a user who has met completion requirements without completing the test. Completion approval often used for blended courses that have an offline element to them. For example, an Instructor running a course may require the participant to email their final project in for review before the completion of the course can be determined.
- Navigate to Utilities Participant List (see above).
- Select Completion Approval at the top of the page to generate a list of names for everyone registered to the product that needs to have their completion of the product manually approved.
- Select the check box in front of each name you want to mark for completion.

- Select Approve Checked at the top of the list. The completion approved field will read as either pending or approved, as applicable to the course configuration.
- Navigate to Utilities Participant List (see above).
- Select Name Tag at the top of the page to generate a printable list of names for everyone registered to the product.
- Select Print at the top of the name tag list to send the tags to your printer.
Label Dimensions
- 8x10 paper size.
- 10 label per page, depending on your print settings (e.g. scale).
- Width: 125px(3.3cm), height 155px(4.1cm) per name tag.
![]() If you have the Scheduling tool enabled, you may wish to use the Session Attendance Sheet.
If you have the Scheduling tool enabled, you may wish to use the Session Attendance Sheet.
- Navigate to Utilities Participant List (see above).
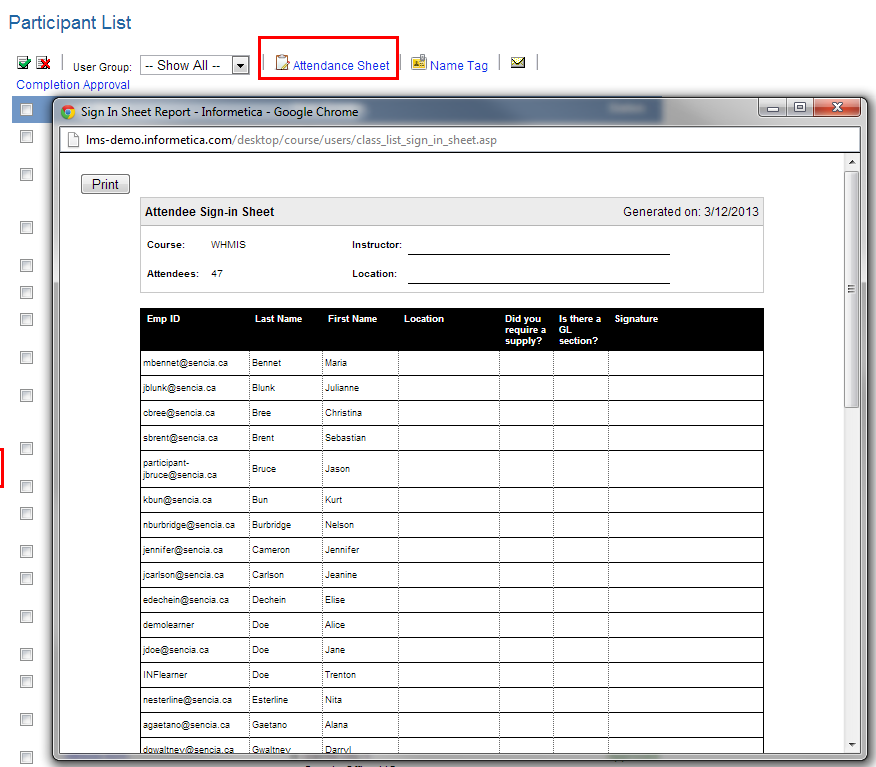
- Select Attendance Sheet at the top of the page to generate a printable list of everyone enroled to the product.
- Select Print at the top of the list to send the page to your printer.
Edit Course Name Date or Status
![]() This feature is available to Course Author and Instructor accounts depending on system configuration.
This feature is available to Course Author and Instructor accounts depending on system configuration.
Edit Course Name or Date
- Log in with an account type mentioned above.
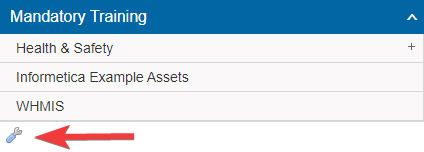
- Select the wrench tool from the product menu on the left side of your home page.
- Select the name of a product to change title/menu titles and publishing dates.
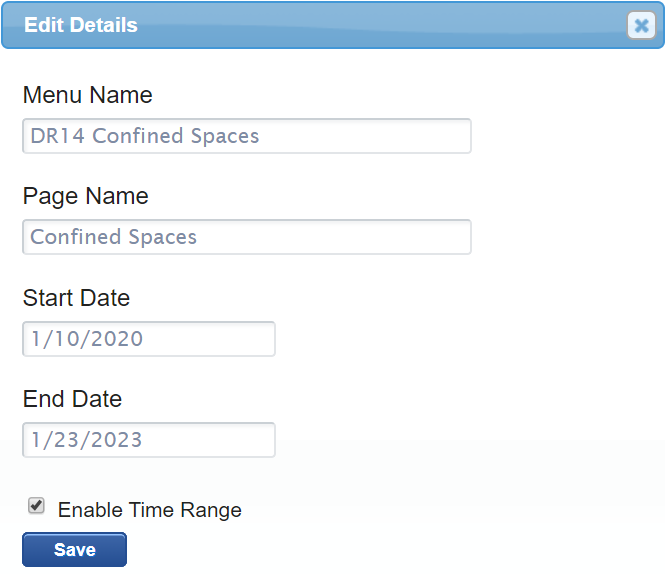
- Save.
Change Course Status
- Log in with an account type mentioned above.
- Select the wrench tool from the product menu on the left side of your home page.
- Select the box to the left of the course name.
- Select Activate or Deactivate as applicable at the top of the list.

![]() A couse must have an active status before you can work it and let enroled users view it.
A couse must have an active status before you can work it and let enroled users view it.