Site Managers can add, remove, and edit email notifications for a specific campus. Email notifications set up for a campus will over ride any default email notifcations sent from the learning management system. For more information on setting up emails, see the chapter on Email Notifications.
- Log in with a Site Manager account.
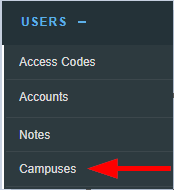
- Select Campuses under Users in the main navigation menu.
- Select Edit Emails next to the desired campus to view the Manage Campus Emails page. You may see Add Emails instead. This means that the campus is using only the site's default email notifications.
- Emails that are set up for the campus will have both the Enabled (enabled for the site) and the Send Email (enabled for the campus) options checked.
- Navigate to Emails.
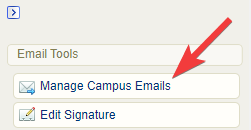
- Select Manage Campus Emails from the Email Tools menu. If you can't see the menu, show the Tool Panel.
- Optionally Sort alphabetically by campus name or by email name (ascending or descending). If you can't see the menu, show the Tool Panel.
- Optionally Filter and select Go. If you can't see the menu, show the Tool Panel. The filter optons are:
- Reset: remove any current filters.
- Campus: Enter a word in the campus name.
- Status: Use the drop-down menu to show only active or inactive emails.
- Language: Use the drop-down menu to show only emails using a specific language.
- Type: Use the drop-down menu to show only the emails with a specific name.
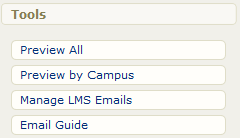
- Optionally preview email message content. Select Preview All or Preview by Campus from the Tools menu. If you can't see the menu, show the Tool Panel.
![]() Campus level emails are sent based on the user's default campus.
Campus level emails are sent based on the user's default campus.