![]() Affidavits must be attached to module or reference assets. You can create an asset void of any content if you wish to display only an affidavit.
Affidavits must be attached to module or reference assets. You can create an asset void of any content if you wish to display only an affidavit.
- Navigate to an asset.
- Select Create Affidavit from the properties menu. If there is already an affidavit attached to this asset, the menu will say View Affidavit instead.
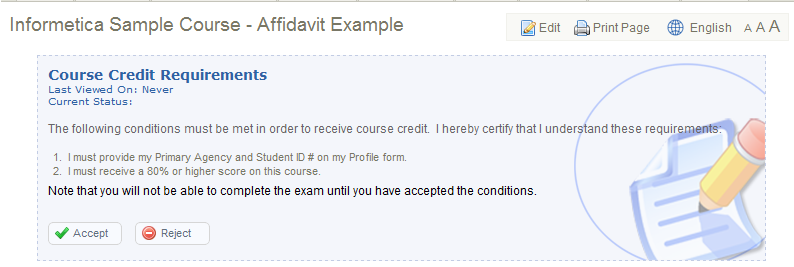
- Enter the Title of the affidavit.
- Enter the Content that users must read and design the look of the affidavit using the content editor.
- Optionally require an Electronic Signature.
- Optionally choose an Expiration Rule using the drop-down menu. This will not affect a user's prior asset completion based on the acceptance of an affidavit.
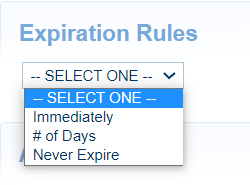
- Select Immediately to have users re-accept the affidavit each time they visit the asset.
- Select Number of Days to enter the number of days before the affidavit must be re-accepted.
- Select Never Expire if users do not need to re-accept the affidavit after the first time. This is the default behaviour.
- Optionally select check boxes to define certain Actions when an affidavit is accepted or rejected. This can redirect users to a URL, a LMS page, or lock their access to a selected asset.

- Do Nothing. This is the default behaviour.
- Redirect to a selected asset within the same product.
- Lock the Following Asset: The participant will not be able to access the asset.
- Optionally Add Display Rules to define when an affidavit is presented to users. Select Add to apply one or more rules.
- Display affidavit only when affidavit has not been agreed to
- Display affidavit only when asset has not been viewed: Use the drop-down menu to select a product and the corresponding asset. Create multiple rules if you have more than one asset that must be viewed.
- Save.