Site Managers can edit how the certificate looks, even after it has been earned.
- Log in with a Site Manager account.
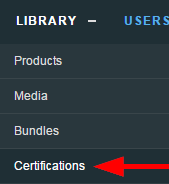
- Select Certifications under Library in the main navigation menu.
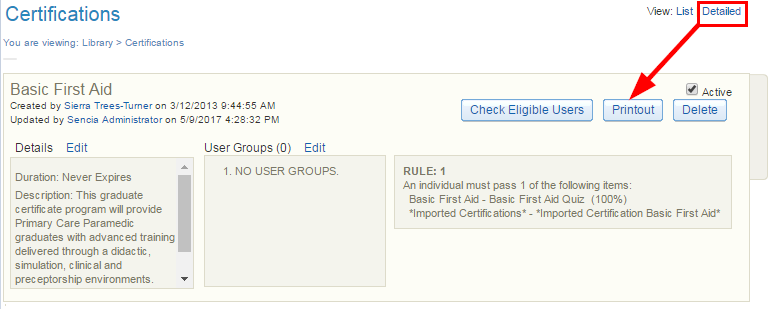
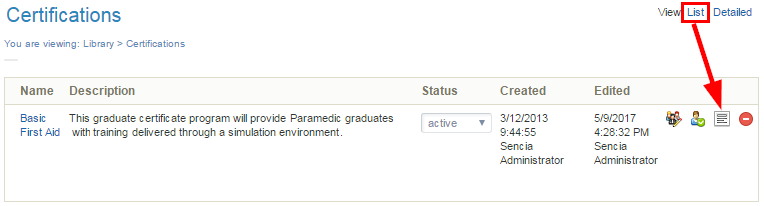
- Select Printout next to the applicable certification. In detailed view, this is a button; in list view, it is an icon.
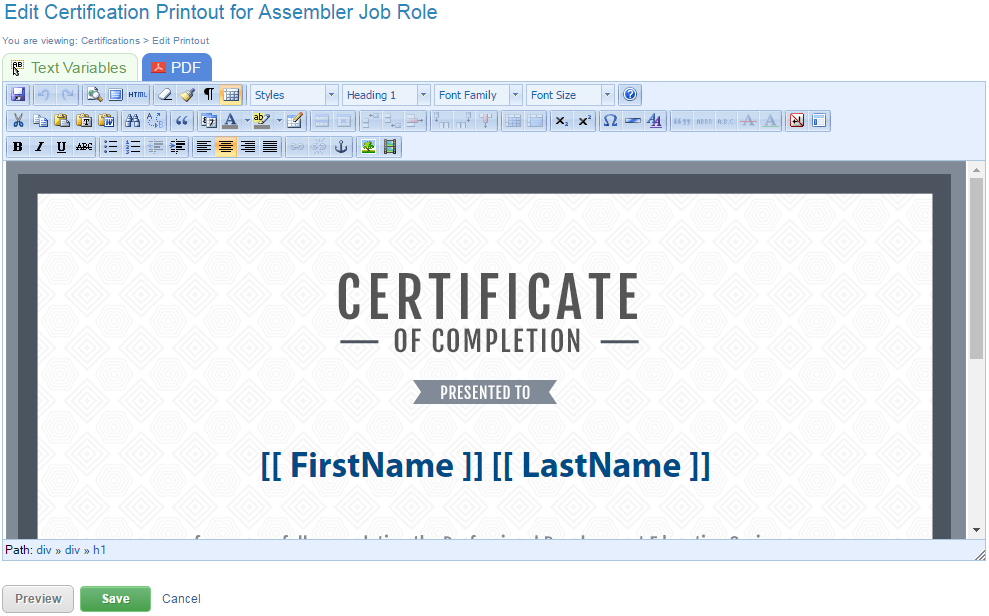
- Select the Text Variables tab. Copy the bracketed text and paste it into the printout content editor. After you create a new certification, you will want to ensure that it contains the necessary automatically populated fields. The text variables tab includes all of the dynamic content placeholders that you can use to auto-populate information on the certifications, such as the learner's first and last name or the name of the certification.

- There are two dynamic placeholders for dates:
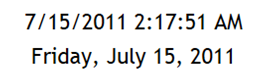
- [[ CertificationIssueDate ]] has the date and time that the certification was awarded.
- [[ CertificationIssueDateFormatted ]] shows the date the certification was awarded in word format without the time stamp.
- Make desired changes using the content editor, such as inserting images from the media library or replacing the default template.
- Select Save.
- Press OK when prompted.