To launch the report wizard, users with reporting permissions must select the Reports tab at the top of any page. Site Managers may also select Report Wizard from their homepage under the Tools menu.
The report wizard guides you through the four steps needed to build and generate reports. Your current step is highlighted and you can navigate through the steps by selecting a tab at the top or using the buttons at the bottom. 
![]()
As you go through the steps, the Report Summary provides a running overview of the report data selected. You can easily change your selections from the report summary by selecting Change to return to a particular step. If you can't see the menu, show the Tool Panel. 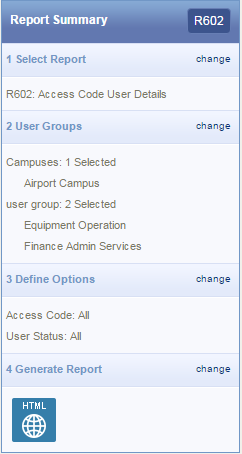
The Report Wizard automatically shows you the reports you can run. There are two views available. Selecting a report shows additional information about the report.
- Select the report you wish to run.
- Select Step 2 to continue.
Use the search box to enter one or two words to find the report you need. Search results are returned from the report title, the description text, and the report fields. For example, to see which reports show grade information, enter the term "grade", to view relevant reports.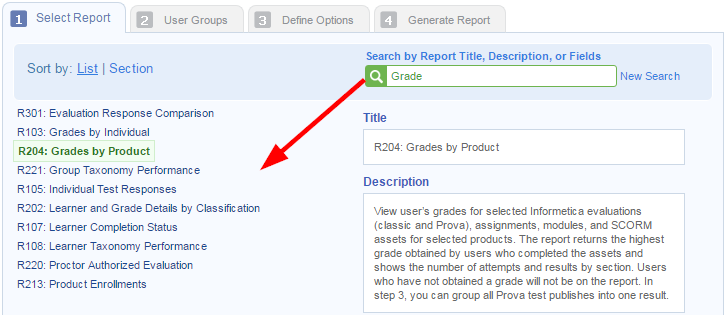
To view reports in alphabetical order, select List.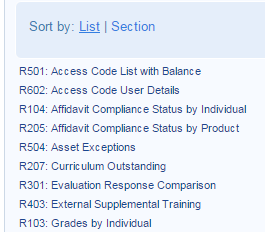
To view reports grouped by categories, select Section.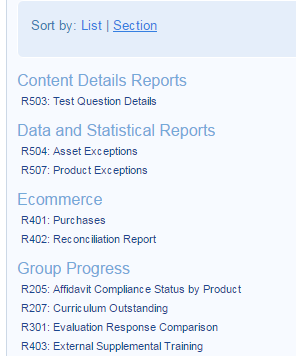
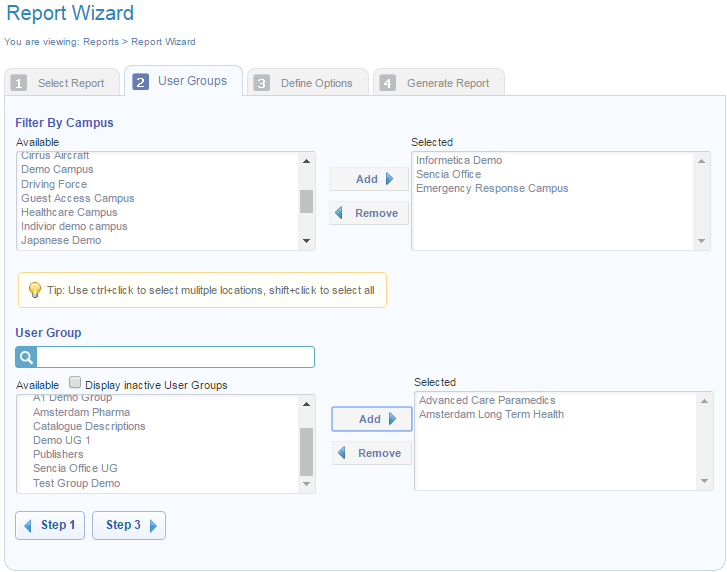
- Select the campuses and user groups you want shown on the report.
- Select Step 3.
The available user groups are shown based on the campuses that you have selected. When a campus is added or removed, the available user groups are also affected. If there are more than 10 user groups, the user group filter is available to help you search for a specific group by name.
- Complete the fields. Each report has different criteria so step 3 options will differ depending on the report you select.
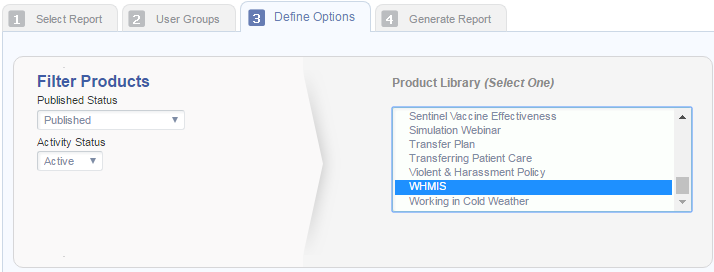
- Select step 4.
Date Selection
Many reports require a date range. A report may let you choose from two types of date selections: Specific Dates and Relative Dates.
Specific Dates
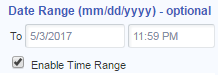
- Enter the date into the field or use the calendar to select a date.

- Reports with date ranges will also have an optionally enabled time range.
Relative Dates
A relative date range is a period of time that is relative to the current date.
- Select a Relative Date option from the drop-down menu.
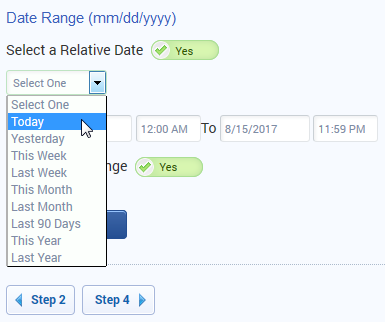
- Reports with date ranges will also have an optionally enabled time range.
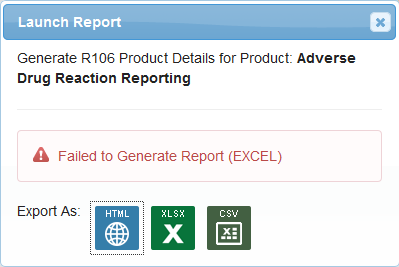
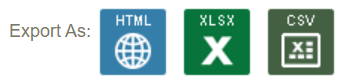
- Select the output for your report. Choose HTML to view it in your browser or download in Excel (.xlsx) or CSV format.
Once you export the report, you may briefly see a loading screen until the report is completely loaded. Loading time can be longer for reports returning heavy data, such as thousands of users or a long date span.

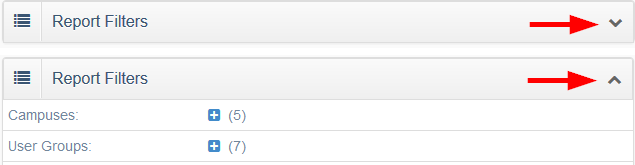
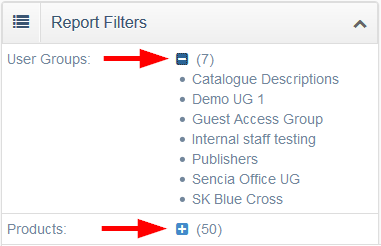
Some HTML reports have interactive elements. Collapse (-) and expand (+) report filters by selecting the +/– buttons.
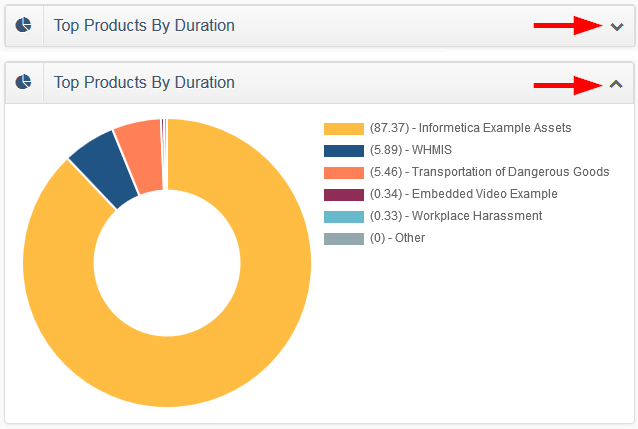
Graphs can be collapsed/expanded using the arrow. You can also select/deselect the data showing on a graph.
Reports that fail to run properly will show a notice with the attempted output type.