Upload files such as .ics, .pdf, and .docx to make them available to enroled users. Only one file can be attached during creation, however after creation, you can edit to add multiple attachments.
Add Attachments
- Navigate to the Scheduling Tool.
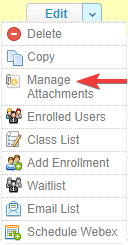
- Select Manage Attachments from a session’s Edit split button.
- Choose a method for uploading the file (ftp is for large files).
- Select the file from your workstation.
- Select Continue.
Delete Attachments
- Navigate to the Scheduling Tool.
- Select Manage Attachments from the session’s Edit split button.
- Select the Delete Icon for the relevant attachment.
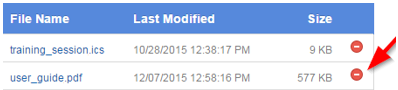
- Confirm the deletion.
Create a Calendar File
Calendar items can be created in Outlook and saved as an .ics file. You can then attach the file to a session, allowing users to add the session to their calendar.
- Open Outlook.
- Create the calendar item.
- Choose File | Save as | iCalendar format (*.ics).
- Save.
If you have Product enrolment email alerts enabled, the email can automatically attach an ICS file if one exists for the scheduled session. Ensure the following criteria is met for this functionality:
- The scheduling tool is enabled for your LMS.
- An individual must be enroled to a specific scheduled session.
- An ICS file must be attached/uploaded that scheduled session.