Site Managers can remove the custom emails notifications for a campus and reset them to the system default emails. Pick the scenario below that applies to your situation.
Site Managers can choose to deactivate one or more emails for campuses.
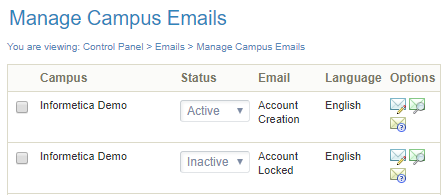
- View Emails for Multiple Campuses.
- Set the status to Inactive using the drop-down menu for the applicable emails.
Site Managers can to match selected campus emails to match the same email types set up for the system default emails. For example, if the system only uses two default emails: Account Creation and Product enrolment, when you set active status to site defaults, that specific campus's emails will send only Account Creation and Product enrolment notifications. You can still customize the email content for the campus.
- View Emails for One Campus.
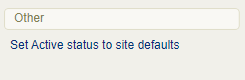
- Select Set Active Defaults Status to Site Defaults from the Other menu. If you can't see the menu, show the Tool Panel.
Resetting all emails for a campus will remove all the unique campus emails and replace them with the default system emails.
- View Emails for One Campus.
- Select campuses.
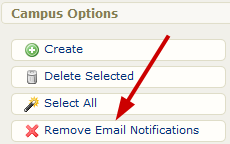
- Select Remove Email Notifications from the Campus Options menu. If you can't see the menu, show the Tool Panel.
Resetting an email will remove the unique campus email and replace it with the default system email. Only emails set to active need to be reset.
- View Emails for Multiple Campuses.
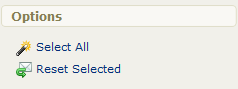
- Select the applicable emails. You can select the emails using the check boxes in front of the emails or by using Select All under the Options menu. If you can't see the menu, show the Tool Panel.
- Select Reset Selected from the Options menu. If you can't see the menu, show the Tool Panel.